It has been a while that the Skype for Business server 2015 released for public. I reckon it would be the time to upgrade the existing Lync server 2013 platform to Skype for Business Server 2015.
Before moving forward, there are concerns that need to be addressed upfront. The major one would be the overall downtime that occur because of the upgrade. If the existing deployment have multiple pools, then users can be moved to one of the pools and get the other one upgraded and have services running as usual. But, if there’s only one pool available, then the upgrade could be a potential risk and a lengthy downtime.
Also, it’s important to have an idea of what CU version that the existing Lync server 2013 platform is running. Make sure to upgrade the Lync server pool before moving forward with the Skype for Business upgrade and also plan adequate downtime that incorporate the existing pool CU upgrade as well as the in-place upgrade.
Moving forward with the Skype for Business 2015 upgrade, install the Skype for Business server Admin Tools on a domain joined machine (admin tools would not install on any Lync server 2013 front end servers). Download the topology from existing deployment, upon installing of the admin tools.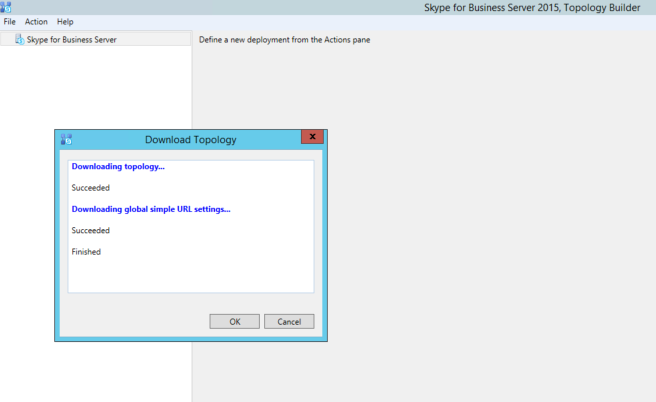
Once downloaded, drill down to the existing Lync server 2013 pool. Right click on the pool and select to “Upgrade to Skype for Business Server 2015”
Select “Yes” on the confirmation window. 
As soon as selecting “Yes”, the Lync server 2013 pool will be moved to “Skype for Business Server 2015” section. This is as expected and should not be worried. 
Now, publish the topology by selecting “Publish Topology” in “Action” menu.
The publishing process is as same as Lync Server 2013. Do not change anything related to the Databases. Leave everything as it is.
Select “Next” and proceed with the topology publishing process.
Open up the “to-do list” to check that need to be done next. 
Log in to Lync Server 2013 Front End server and run the Skype for Business Server 2014 set up from media. 
Select to connect to the internet and check for updates. It will download the required windows patches and install. 
Upon completing the download process, select next to proceed with the deployment. As for the first step, it will check the status of the existing pool. It will error out if the pool services are still running.
Open up the Lync server 2013 management shell and run Stop-CsWindowsServices to stop the Lync server services. This process need to be done on all front end servers. 
Once all the services are down, retry the deployment process. It should continue through the process. It would take up to 45 – 60 minutes to complete the update. The upgrade process can be run on all Lync server 2013 front end servers simultaneously. No need to do it one by one.
select “Ok” to complete the upgrade process. 
Now, the upgrade process is successfully completed. Wait till the process completed on all front end servers. Upon completion, run the command Start-CsPool -PoolFqdn <pool fqdn> . This is a new command that introduced in Skype for Business Server 2015. This command can be used to stop and start the pool without being worried about messing with the fabric and the quorum.

Confirm that all the windows services relate to Skype for Business server are up and running.
The Lync Server 2013 clients should get a prompt that the back end server is changed to Skype for Business and it require to restart the client.
Upon restarting the Lync 2013 client, the client will change the skin to Skype for Business 2015.

The upgrade process is now completed. Carry out the test plan to verify the features and functionality of the platform.
